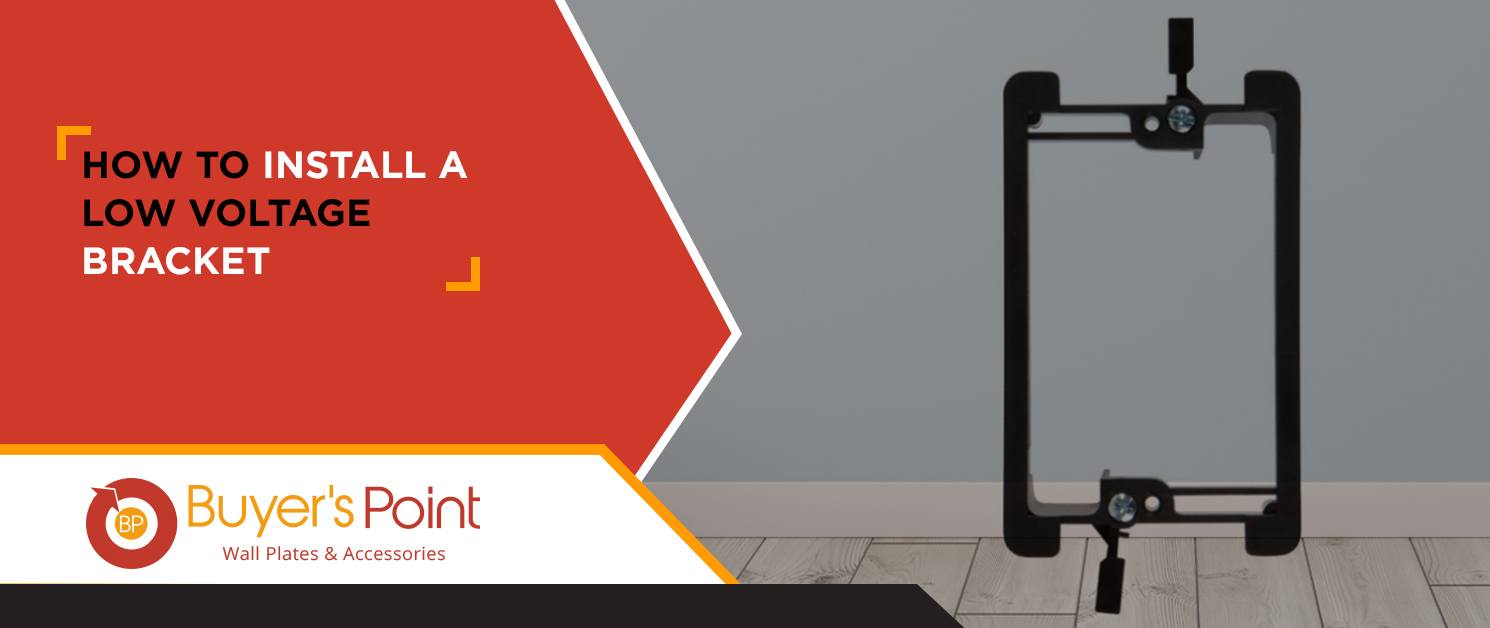
How To Install a Low Voltage Bracket
Think you can’t install a low voltage bracket yourself? It’s a lot easier than you think. Doing a little DIY can help you to save hundreds of dollars. It is important that you cut costs when you can, which is key for those who are on a strict budget or are always looking for a bargain.
Churches are becoming more tech-savvy than ever, with over 98% of churches using Facebook and over 77% using Twitter. Taking advantage of technology is a great way to reach your audience. Having the right tools is vital to your success. Being able to install low voltage mounting brackets is a simple way to further the use of technology. Homeowners, church members, and other groups can benefit from learning how to install a low voltage bracket.
The Basics of Low Voltage Brackets
First and foremost, these types of brackets cannot be used with 120-volt electrical cables. They can be used for cable TV, security systems, Ethernet cables, HDMI cables, mounting internet cables, home theater systems, speakers, any wiring application that operate at 30 volts or less; these devices are suitable for low voltage mounting bracket setup.
Measure Correctly
Your first step in the process is to measure twice and cut once. Hold the bracket up to the wall where it will be installed and use a pencil to trace the bracket. Check to be sure that you are installing the bracket in between the wall studs. A stud finder can help you to ensure that you are clear of any studs.
Grab Your Keyhole Saw (Jabsaw)
The next step is to cut a hole in the wall. The right tools are going to matter here. Use a keyhole saw to cut out the pattern that you traced on the wall. If you are working with very hard material like wood paneling, you can drill a couple of pilot holes in the corner of the pattern to make it easier to use the saw. Apply even pressure throughout the cuts to ensure you get a clean line. It will be easier at the end of you take your time with this part.
Insert the Bracket
For this part, you will need a small bubble level to ensure your bracket is mounted straight. Insert the bracket into the hole and check the level to make sure that everything is straight. Once you are sure that the bracket is straight, you can set the screws. Pull the wires through the bracket and secure the faceplate. If you are installing an ethernet cable, you will need to plug the cable into the back of the faceplate.
Voila — you’re done. It really is that simple to install a low voltage bracket and you just saved at least a hundred bucks by taking on this task yourself.

The Buyer’s Point has built its reputation as an industry leader in electronic and computer accessories over the past 10 years. We specialize in delivering excellent customer service, high quality, and affordable products to design engineers, buyers and everyday consumers.
[…] post How To Install a Low Voltage Bracket appeared first on Buyers […]